Ruby has been a well-established programming language for many years and can also be recommended to beginners. Ruby follows the object-oriented paradigm and contains many concepts to support OOP well. In addition, the Ruby on Rails framework makes it very easy to develop complex web applications.
The most difficult hurdle to overcome when getting started with Ruby is the installation of the entire development environment. For this reason, I have written this short tutorial on getting started with Ruby. So let’s start with the installation right away.
My operating system is a Debian 12 Linux and Ruby can be installed very easily with the sudo apt-get install ruby-full command. This procedure can be applied to all Debian-based Linux distributions such as Ubuntu. You can then use ruby -v to check the success in the bash.
ed@:~$ ruby -v
ruby 3.1.2p20 (2022-04-12 revision 4491bb740a) [x86_64-linux-gnu]If we now follow the tutorial on the Ruby on Rails homepage and want to install the Rails framework via gem rails, we already encounter the first problem. No libraries for Ruby can be installed due to missing authorizations. Now we could come up with the idea to install the libraries as superuser with sudo. Unfortunately, this solution is only temporary and prevents the libraries from being found correctly later in the development environment. It is better to create a folder for the GEMs in the user’s home directory and make this available via a system variable.
export GEM_HOME=/home/<user>/.ruby-gems
export PATH=$PATH:/home/<user>/.ruby-gems
The above line must be entered at the end of the .bashrc file so that the changes remain persistent. It is important that is <user> replaced with the correct user name. The success of this action can be checked via gem environment and should result in an output similar to the one below.
ed@:~$ gem environment
RubyGems Environment:
  - RUBYGEMS VERSION: 3.3.15
  - RUBY VERSION: 3.1.2 (2022-04-12 patchlevel 20) [x86_64-linux-gnu]
  - INSTALLATION DIRECTORY: /home/ed/.ruby-gems
  - USER INSTALLATION DIRECTORY: /home/ed/.local/share/gem/ruby/3.1.0
  - RUBY EXECUTABLE: /usr/bin/ruby3.1
  - GIT EXECUTABLE: /usr/bin/git
  - EXECUTABLE DIRECTORY: /home/ed/Programs/gem-repository/bin
  - SPEC CACHE DIRECTORY: /home/ed/.local/share/gem/specs
  - SYSTEM CONFIGURATION DIRECTORY: /etc
  - RUBYGEMS PLATFORMS:
     - ruby
     - x86_64-linux
  - GEM PATHS:
     - /home/ed/Programs/gem-repository
     - /home/ed/.local/share/gem/ruby/3.1.0
     - /var/lib/gems/3.1.0
     - /usr/local/lib/ruby/gems/3.1.0
     - /usr/lib/ruby/gems/3.1.0
     - /usr/lib/x86_64-linux-gnu/ruby/gems/3.1.0
     - /usr/share/rubygems-integration/3.1.0
     - /usr/share/rubygems-integration/all
     - /usr/lib/x86_64-linux-gnu/rubygems-integration/3.1.0
  - GEM CONFIGURATION:
     - :update_sources => true
     - :verbose => true
     - :backtrace => false
     - :bulk_threshold => 1000
  - REMOTE SOURCES:
     - https://rubygems.org/
  - SHELL PATH:
     - /home/ed/.local/bin
     - /usr/local/bin
     - /usr/bin
     - /bin
     - /usr/local/games
     - /usr/games
     - /snap/bin
     - /home/ed/Programs/maven/bin
     - /usr/share/openjfx/lib
- /home/ed/.local/binWith this setting, Ruby GEMs can now be installed without difficulty. Let’s try this out right away and install the Ruby on Rails framework, which supports us in the development of web applications: gem install rails. This should now run without error messages and with the command rails -v we can see if we were successful.
In the next step we can now create a new Rails project. Here I use the example from the Ruby on Rails documentation and write in the bash: rails new blog. This creates a corresponding directory called blog with the project files. After we have changed to the directory, we still need to install all dependencies. This is done via: bundle install.
Here we encounter another problem. The installation cannot be completed because there seems to be a problem with the psych library. The real problem, however, is that there is no support for YAML files at the operating system level. This can be fixed very quickly by installing the YAML package.
sudo apt-get install libyaml-dev
The problem with psych in Ruby on Rails has existed for a while and has been solved with the YAML installation so that the bundle install command now also runs successfully. Now we are also able to start the server for the Rails application: bin/rails server.
ed@:~/blog$ bin/rails server
=> Booting Puma
=> Rails 7.1.3.3 application starting in development
=> Run `bin/rails server --help` for more startup options
Puma starting in single mode...
* Puma version: 6.4.2 (ruby 3.1.2-p20) ("The Eagle of Durango")
*  Min threads: 5
*  Max threads: 5
*  Environment: development
*          PID: 12316
* Listening on http://127.0.0.1:3000
* Listening on http://[::1]:3000
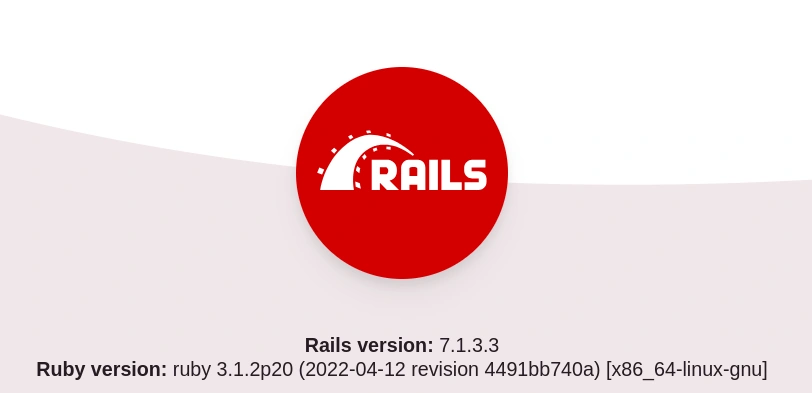
Use Ctrl-C to stopIf we now call up the URL http://127.0.0.1:3000 in the web browser, we see our Rails web application.

With these steps, we have now created a functioning Ruby environment on our system. Now it’s time to decide on a suitable development environment. If you only occasionally adapt a few scripts, VIM and Sublime Text are sufficient as editors. For complex software projects, a full IDE should be used, as this simplifies the work considerably. The best recommendation is the paid IDE RubyMine from JetBrains. If you support Ruby open source projects as a developer, you can apply for a free license.
A freely available Ruby IDE is VSCode from Microsoft. However, a few plugins have to be integrated first and VSCode is not very intuitive for my taste. Ruby integration for the classic Java IDEs Eclipse and NetBeans are quite outdated and can only be made to work with a great deal of effort.
With this we have already discussed all the important points that are necessary to set up a functioning Ruby environment on your own system. I hope that this little workshop has significantly lowered the entry barrier to learning Ruby. If you like this article, please like it and recommend it to your friends.

Leave a Reply
You must be logged in to post a comment.