
Artificial intelligence is a very broad field in which it’s easy to lose track. Large Language Models (LLMs), such as ChatGPD, process natural language and can solve various problems depending on the data set. In addition to pleasant conversations, which can be quite therapeutic, LLM can also handle quite complex tasks. One such scenario would be drafting official letters. In this article, we won’t discuss how you can use AI, but we’ll explain how you can install your own AI locally on your computer.
Before we get into the nitty-gritty, we’ll answer the question of what the whole thing is actually useful for. You can easily access AI systems, some of which are available online for free.
What many people aren’t aware of is that all requests sent to ChatGPT, DeepSeek, and the like are logged and permanently stored. We can’t answer the details of this logging, but the IP address and user account with the prompt request are likely among the minimal data collected. However, if you have installed your own AI on your local computer, this information will not be transmitted to the internet. Furthermore, you can interact with the AI as often as you like without incurring any fees.
For our project of installing our own artificial intelligence on your own Linux computer, we don’t need any fancy hardware. A standard computer is perfectly sufficient. As mentioned before, we are using Linux as the operating system because it is much more resource-efficient than Windows 10 or Windows 11. Any Debian-derived Linux can be used for the workshop. Debian derivatives include Ubuntu and Linux Mint.
At least 16 GB of RAM is required. The more RAM, the better. This will make the AI run much more smoothly. The CPU should be at least a current i5/i7 or AMD Ryzen 5+. If you also have an SSD with 1 TB of storage, we have the necessary setup complete. Computers/laptops with this specification can be purchased used for very little money. Without wanting to advertise too much, you can browse the used Lenovo ThinkPad laptops. Other manufacturers with the minimum hardware requirements also provide good services.
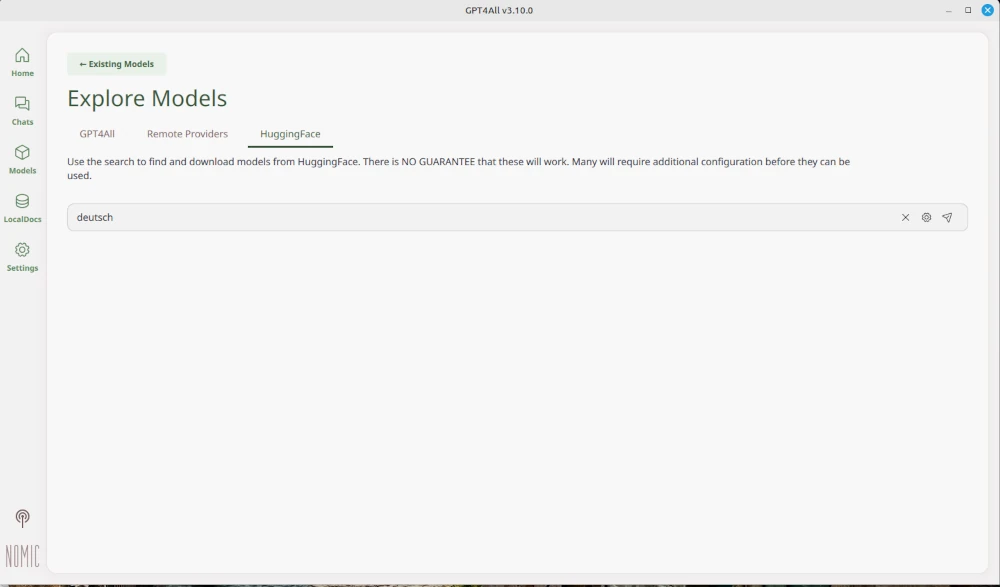
After clarifying the necessary requirements, we’ll first install GPT4all on our computer. Don’t worry, it’s quite easy, even for beginners. No special prior knowledge is necessary. Let’s start by downloading the gpd4all.run file from the homepage (https://gpt4all.io/index.html?ref=top-ai-list). Once this is done, we’ll make the file executable.
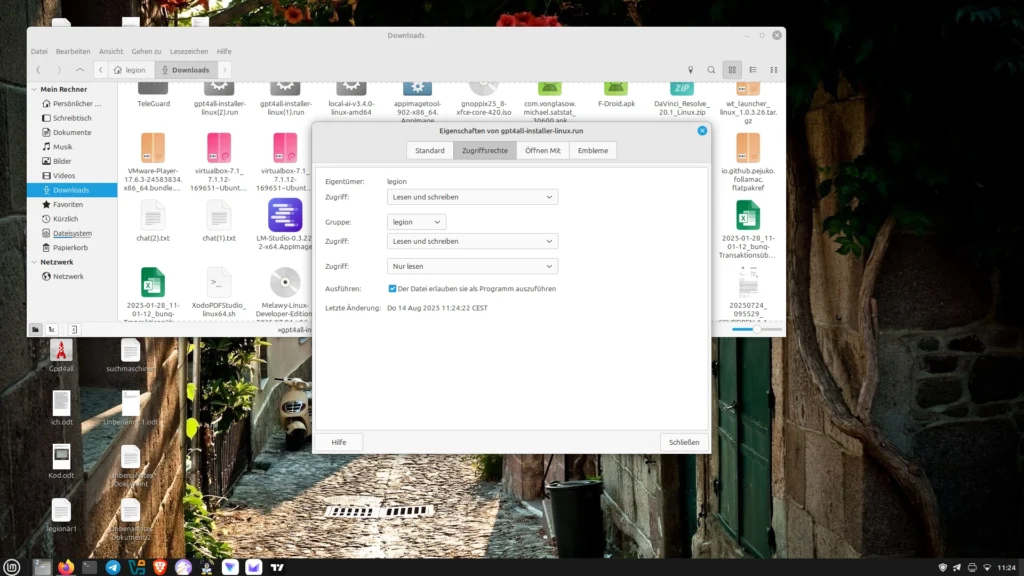
As shown in the screenshot, we right-click on the downloaded file and select Properties from the menu. Under the Permissions tab, we then check the Execute box. Now you can run the file with the usual double-click, which we do immediately.
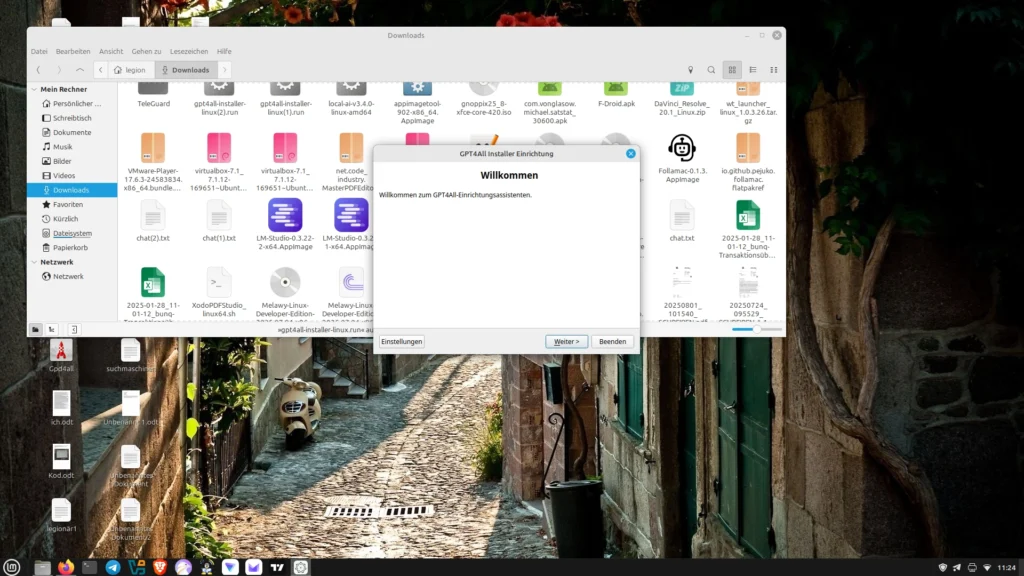
Now the installation process begins, where we can, among other things, select where GPT4all will be installed. On Linux, self-installed programs usually go to the /opt directory.
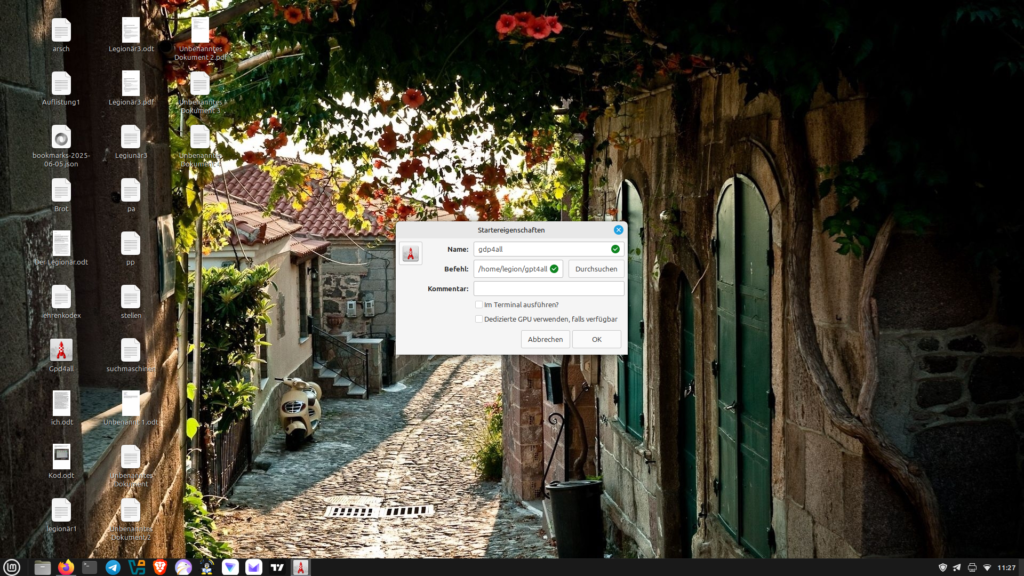
In the next step, we can create a desktop shortcut. To do this, right-click on the empty desktop and select “Create Shortcut.” In the pop-up window, enter a name for the shortcut (e.g., GPT 4 all) and set the path to the executable file (bin/chat), then click OK. Now we can conveniently launch GPT4all from our desktop.
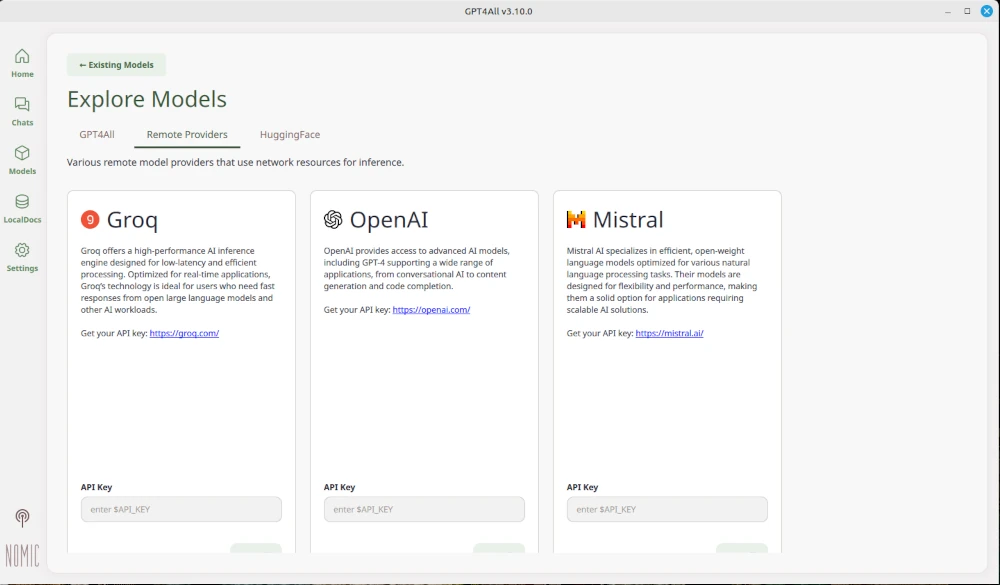
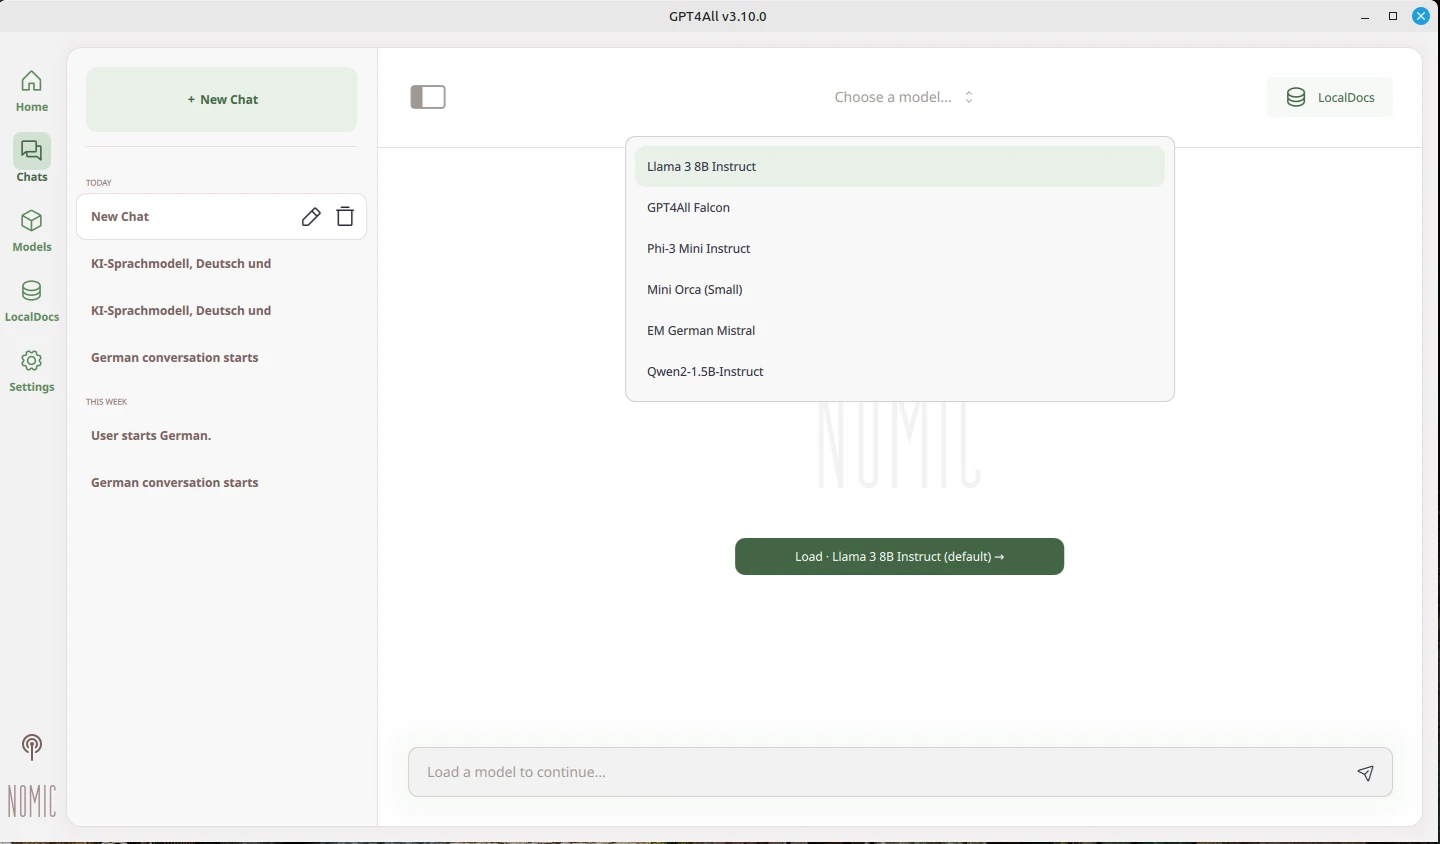
For GPT4all to work, a model must be loaded. As you can see in the screenshots, several models are available. The model must be reselected each time the program is started. The AI can now be used locally on your computer.
Image gallery:

Other AI systems include:
- Llama 3 8B Instruct: an all-rounder with good language skills
- Mistral 7B: efficient, fast, and precise
- Phi 3 Mini: very small and runs even with little RAM


Leave a Reply
You must be logged in to post a comment.