
We already have a guide with GPT4all on how to run your own local LLM. Unfortunately, the previous solution has a small limitation. It cannot process documents such as PDFs. In this new workshop, we will install AnythingLLM with Ollama to be able to analyze documents.
The minimum requirement for this workshop is a computer with 16 GB of RAM, ideally with Linux (Mint, Ubuntu, or Debian) installed. With a few adjustments, this guide can also be followed on Windows and Apple computers. The lower the hardware resources, the longer the response times.
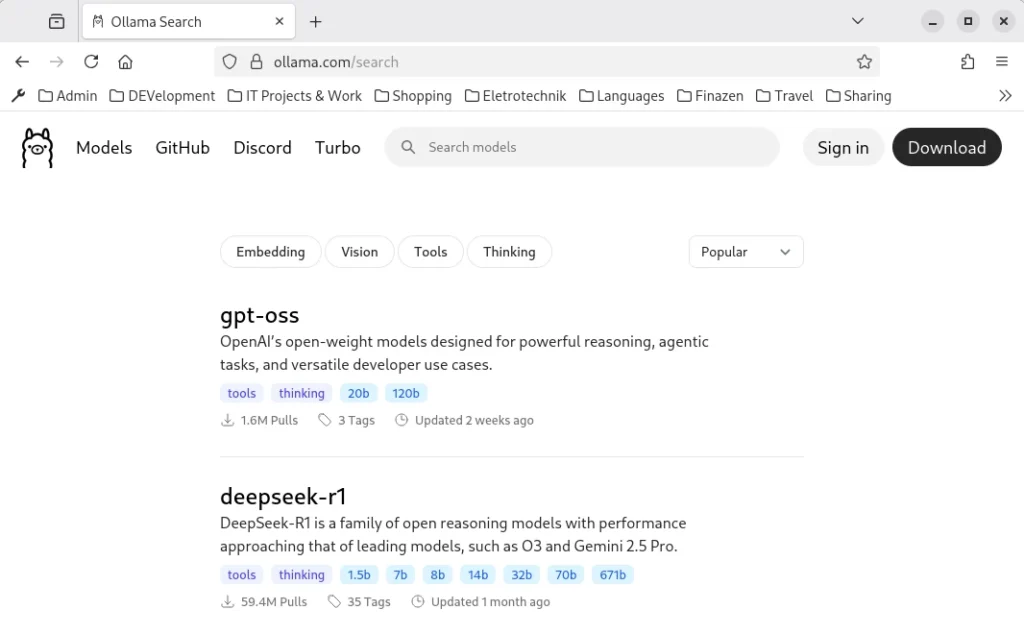
Let’s start with the first step and install Ollama. To do this, open Bash and use the following command: sudo curl -fsSL https://ollama.com/install.sh | sh. This command downloads Ollama and executes the installation script. For the installation to begin, you must enter the administrator password. Ollama is a command-line program that is controlled via the console. After successful installation, a language model must be loaded. Corresponding models can be found on the website https://ollama.com/search.
Proven language models include:
- lama 3.1 8B: Powerful for more demanding applications.
- Phi-3-5 3B: Well-suited for logical reasoning and multilingualism.
- Llama 3.3 2B: Efficient for applications with limited resources.
- Phi 4 14B: State-of-the-art model with increased hardware requirements but performance comparable to significantly larger models.
Once you’ve chosen a language model, you can copy the corresponding command from the overview and enter it into the terminal. For our example, this will be DeepSeek R1 for demonstration purposes.
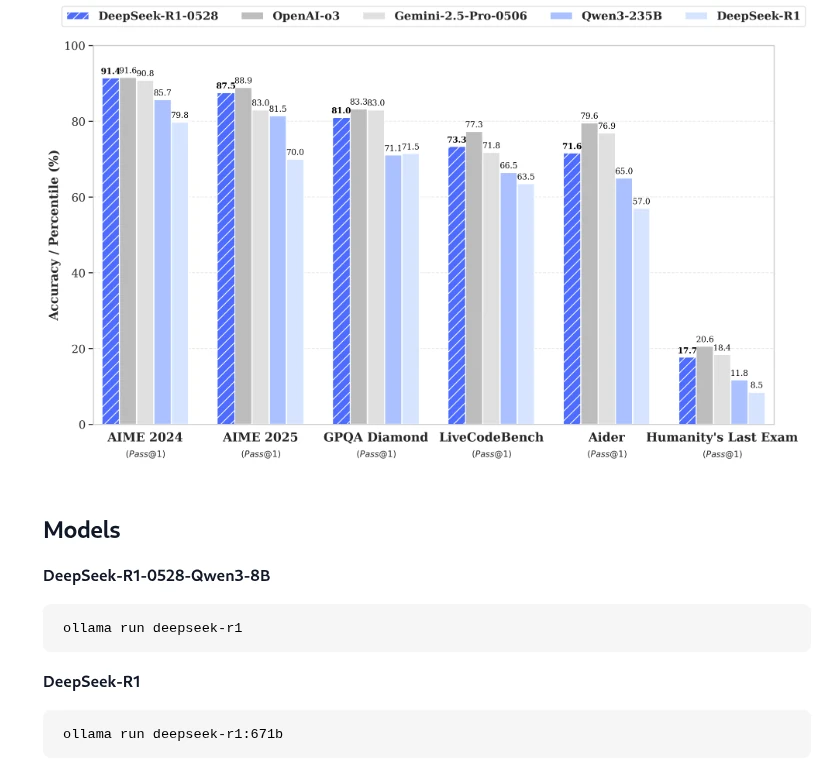
As shown in the screenshot, the corresponding command we need to install the model locally in Ollama is: ollama run deepseek-r1. Installing the language model may take some time, depending on your internet connection and computer speed. Once the model has been installed locally in Ollama, we can close the terminal and move on to the next step: installing AnythingLLM.
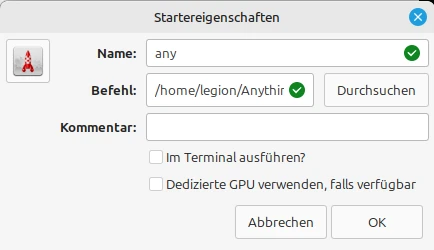
Installing AnythingLLm is similar to installing Ollama. To do so, open the terminal and enter the following command: curl -fsSL https://cdn.anythingllm.com/latest/installer.sh | sh. Once the installation is complete, you can change to the installation directory, which is usually /home//AnythingLLMDesktop. There, navigate to the start link and make it executable (right-click and select Properties). Additionally, you can create a shortcut on the desktop. Now you can conveniently launch AnythingLLM from the desktop, which we’ll do right now.
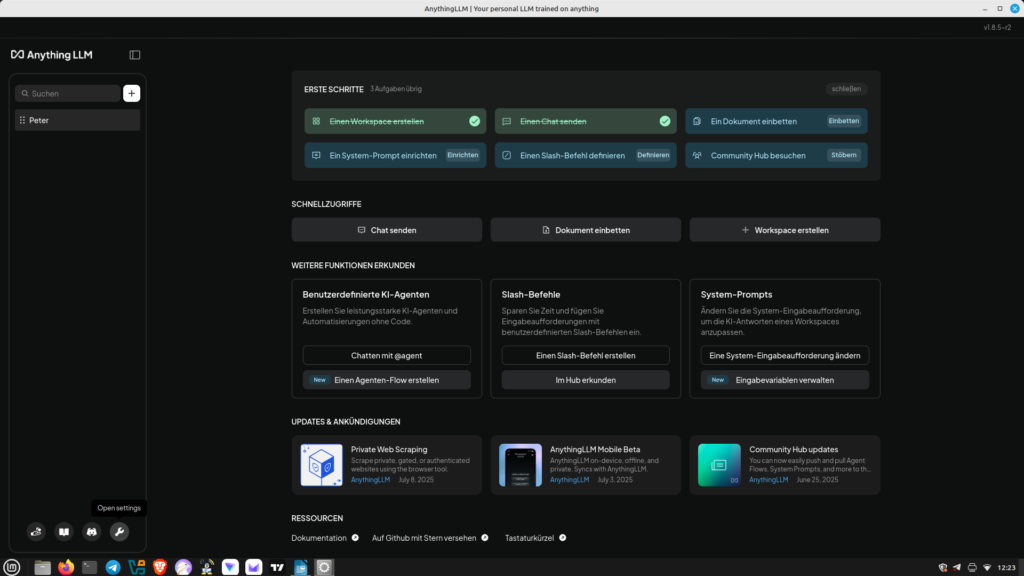
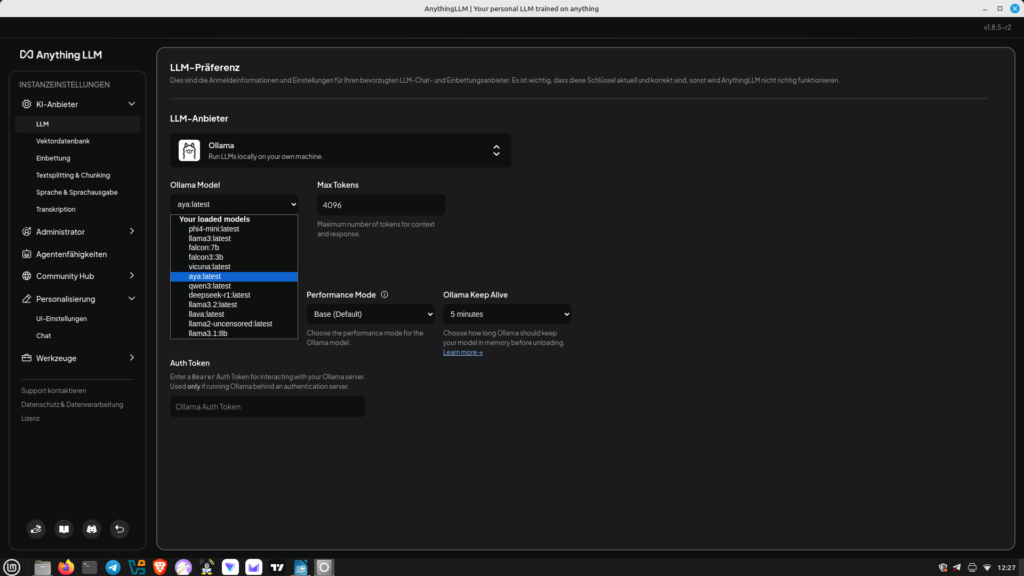
After defining the workspace, we can now link Anything with Ollama. To do this, we go to the small wrench icon (Settings) in the lower left corner. There, we select LLM and then Ollama. We can now select the language model stored for Ollama. Save our settings. Now you can switch to chat mode. Of course, you can change the language model at any time. Unlike previous workshops, we can now upload PDF documents and ask questions about the content. Have fun.
Leave a Reply
You must be logged in to post a comment.