Since 2025, several countries have already introduced age verification for using social media and the internet in general. Australia and the United Kingdom are leading the way in this trend. Several US states have also followed suit. Age verification is slated to be rolled out across the EU by 2027. Italy and France have already passed corresponding laws. The new government that has been in power in Germany since the beginning of 2025 also favors this form of paternalism. This was demonstrated by a clause in the coalition agreement that stipulates the nationwide introduction of eID in Germany. In this article, I will outline the social and technical aspects that will inevitably affect us citizens.
Under the guise of protecting minors, children and young people under 16 are to be denied access to harmful content such as pornography. Social media platforms like Facebook, X, and others will also be affected by these measures. Already, various types of content on YouTube are only accessible to registered users.
If the well-being of children were truly the priority, the focus would be on fostering their development into stable and healthy personalities. This begins with balanced, healthy school meals, which should be available to every student at an affordable price. Teaching media literacy in schools would also be a step in the right direction. These are just a few examples demonstrating that the justification for introducing age verification is a smokescreen and that fundamentally different goals are being pursued.
It’s about paternalism and control over every single citizen. It’s a violation of the right to self-determination. Because one thing must be clear to everyone: to ensure that a person is indeed of legal age for accessing restricted content, everyone who wants to view it must provide proof of age. This proof will only be possible with an eID. Once a critical mass is reached using their eID, this will become the standard for payments and all sorts of other things. It sounds somewhat prophetic, especially if you’re familiar with the Book of Revelation in the New Testament.
The second beast caused everyone—great and small, rich and poor, master and slave—to receive a mark on their right hand or forehead. Without this mark, no one could buy or sell anything. Revelation 13:16
It is therefore foreseeable that an individual’s refusal to accept the eID will completely exclude them from the digital world. Simultaneously, opportunities that provide alternatives in real life, the so-called analog realm, will disappear. However, I don’t want to be too prophetic here. Everyone can imagine for themselves what consequences the introduction of the digital ID will have on their own lives. I will now delve into some technical details and offer some food for thought regarding civic self-defense. Because I am quite certain that there is broad acceptance of the eID. Even if the specific reasons vary, they can be reduced to personal comfort and convenience. Anyone who continues reading from here on is fully responsible for implementing things independently and acquiring the necessary knowledge. There will be no quick, easy, off-the-shelf solution. But you don’t have to be a techie either. The willingness to think independently is perfectly sufficient to quickly understand the technical connections. It’s not rocket science, as they say.
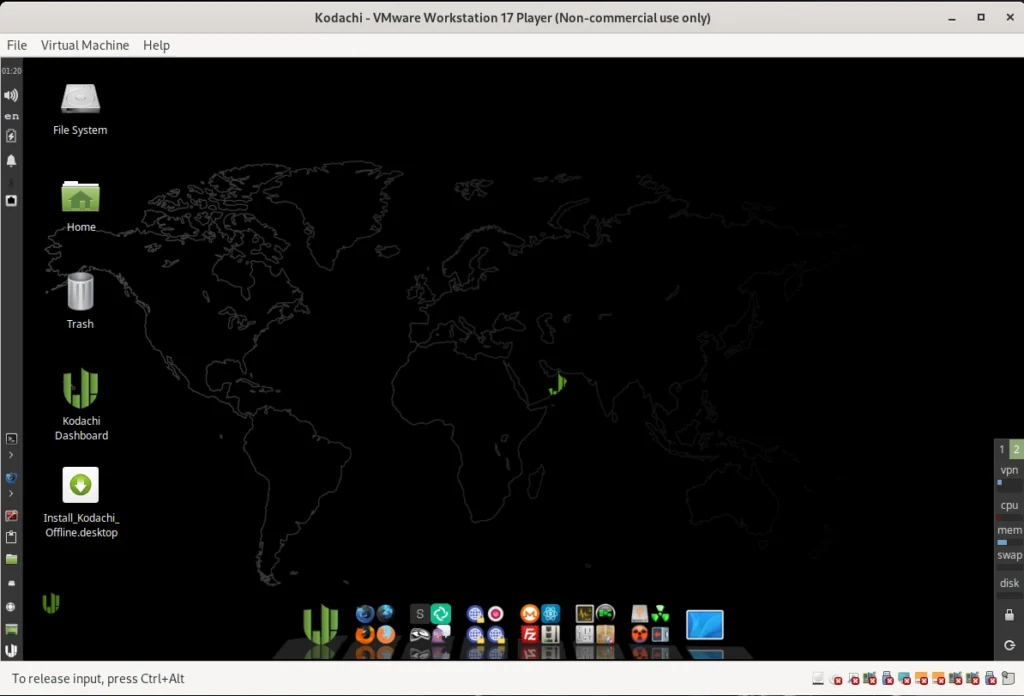
Because I am quite certain that there is widespread acceptance of the eID. Even if the specific reasons vary, they can be reduced to personal comfort and convenience. People who rely on Apple or Microsoft products have no choice but to switch to open-source operating systems. Smartphones simply don’t offer a practical alternative to banking apps and messaging services. There’s a reason why you need a working phone number to register for Telegram and Signal Messenger: chats are synchronized from the phone to the desktop application. So, you’re left with your computer, which ideally shouldn’t be newer than 2020. I’ve already published an article on this topic.
All Linux distributions run smoothly on older and even low-performance hardware. Switching to Linux is now easy, and you’ll be used to the new system in just a few weeks. So far, so good.
However, since calendar week 13 of 2026, the Linux community has been up in arms across all social media. The program systemd made a commit to the public source code repository adding a birthday field for age verification. Anyone thinking, “Oh well, just one program, I’ll ignore it,” should know that systemd stands for System Daemon. Besides the kernel, it’s one of the most important programs in a Linux distribution. Among other things, it’s responsible for starting necessary services and programs when the computer is turned on.
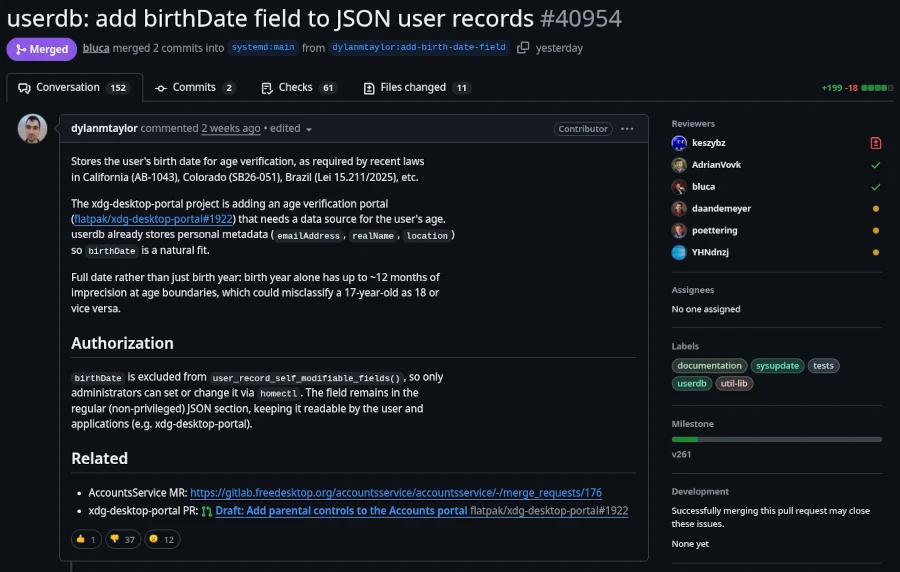
This is the same record that already holds basic user metadata like
realName,emailAddress, andlocation. The field stores a full date inYYYY-MM-DDformat and can only be set by administrators, not by users themselves.Lennart Poettering, the creator of systemd, has clarified that this change is:
An optional field in the userdb JSON object. It’s not a policy engine, not an API for apps. We just define the field, so that it’s standardized iff people want to store the date there, but it’s entirely optional.
Source: It’s FOSS
All these events also shed new light on the meeting between Linus Torvalds and Bill Gates on June 22, 2025, their first personal encounter in 30 years. It’s absolutely unacceptable in the Linux community to patronize computer users and infringe on their privacy. And there are strong voices opposing the systemd project. However, it’s impossible to predict how strong this resistance will remain if government pressure is exerted on these staunch dissenters.
The first approach to solving this problem is to use a Linux distribution that doesn’t use systemd. Well-known distributions that manage without systemd include Gentoo, Slackware, and Alpine Linux. Those who, like myself and many others, use a pure Debian system might want to take a look at Devuan (version 6.1 Excalibur for March 2026), which is a fork of current Debian versions that doesn’t use systemd.
It’s also worth mentioning that systemd has always been viewed critically by hardcore Linux users. It’s simply considered too bloated. Those who have been running their distribution for a while often hesitate to switch. Linux is like a fine wine. It matures with time, and fresh installations are considered unnecessary by power users, as everything can easily be repaired. Migrations to newer major versions are also generally trouble-free. Therefore, replacing systemd with the more lightweight SysVinit is no problem. The only requirement is that you’re not afraid of the Linux Bash shell. However, there are limits here as well. Those using the GNOME 3 desktop should first switch to a desktop environment that isn’t based on systemd. Devuan Linux shows us the alternatives: KDE Plasma, MATE (a GNOME 2 fork), Cinnamon (for Windows switchers), or the rudimentary Xfce. Before starting, you should at least back up your data for security reasons and, if possible, clone your hard drive to restore the original state in case of problems.
Since I haven’t yet found the time to try out the tutorial myself due to the topic’s current relevance, I refer you to the English-language website linuxconfig.org, which provides instructions on replacing systemd with sysVinit in Debian.

It’s probably like so many things: things are never as bad as they seem. I don’t think the mandatory digital ID will arrive overnight. It will likely be a gradual process that makes life difficult for those who resist total control by authoritarian authorities. There will always be a way for determined individuals to find a solution. But to do so, one must take action and not passively wait for the great savior. He was here before, a very long time ago.