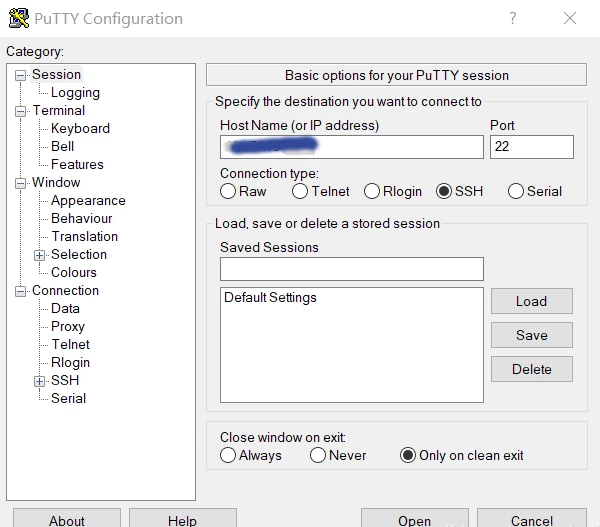
Managing Linux servers or Docker containers needs a basic understanding of the terminal, also known as the command line. Windows users, for example, can use the program PuTTY to obtain remote access via Secure Shell (SSH). The SSH is a secure remote connection that establishes an encrypted terminal connection to a Linux machine. SSH provides two basic types of access to a remote system. The not recommended way is via user /password or the better secure variant with a provided RSA encryption key pair.
Per definition, “terminal” and “shell” are not the same but are often used as synonyms. In general, is the terminal just the command line interface (CLI) that receives keystrokes from user interaction. The shell is an interpreter who runs inside the terminal to execute programs. For most Linux distributions, BASH (Bourne Again Shell) is the default system shell. Besides the BASH, there exist other shell variants like KornShell (ksh) or C Shell (csh).
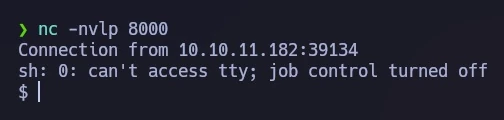
When gaining access to a machine, whether through a reverse shell or SSH, the terminal may behave unusually. Common issues include the inability to clear text, use CTRL+C or CTRL+L, and improper text display. Here’s how to improve terminal navigation.
Steps for a Better Terminal Experience
1. Start a Temporary Script
script /dev/null -c bash
This starts a script that automatically deletes itself, as it points to /dev/null.
2. Send Reverse Shell to Background
Press CTRL+Z. This puts the reverse shell process in the background.
3. Resume the Process and Configure stty
stty raw -echo; fg
This returns you to the process and adjusts the terminal for rawer input and no echo.
4. Reset the Terminal
reset xterm
Use this command even if the text doesn’t display correctly or there are strange indents.
5. Configure the TERM Environment Variable
export TERM=xterm
Check with echo $TERM before and after this step.
6. Enable Colors in the Terminal
export TERM=xterm-256color
source /etc/skel/.bashrc
This sets up the terminal to support colors.
7. Adjust the Terminal Size
Compare and adjust the terminal size to your actual terminal:
stty rows [real console row number]
stty cols [real console column number]
Replace [real console row number] and [real console column number] with the corresponding values found by running stty size in a normal console.
Security hint: Linux server machines that are reachable on the internet should not provide the login via superuser (root), neither as account password access. The problem we face is a distributed brute force attack from botnets to gain an administrative shell and hijack the system. Modern harden Linux servers disable the root account and just provide the sudo command for administrative users.
Administrators who need to deal with multiple open shells to maintain different machines like to use a very handy tool called TMUX [1]. Currently available in Version 3 and easily installed via shell.
apt-get install tmux
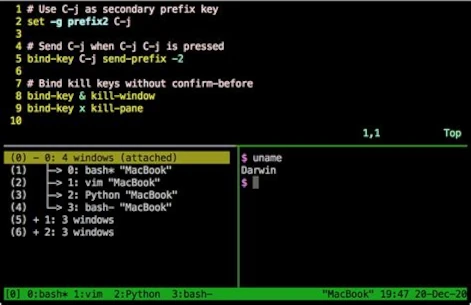
TMUX is a program that allows multiple terminal sessions in one terminal. For the correct usage, you should consult the official manual page [2]. The program is a bit complex to use and needs a little time to learn. A short workshop is too large for this post and would fit into its own article, may get published in the future. Just to give an idea of the possibilities they can do with TMUX check the following screenshot.
Ressources
Abonnement / Subscription
[English] This content is only available to subscribers.
[Deutsch] Diese Inhalte sind nur für Abonnenten verfügbar.