Kali Linux [1] and Parrot Linux [2] are considered the first choice among Linux distributions when it comes to security and penetration testing. Many relevant programs are already preinstalled on these distributions and can be used out of the box, so to speak.

However, it must also be said that Kali and Parrot are not necessarily the most suitable Linux distributions for everyday use due to their specialization. For daily use, Ubuntu for beginners and Debian for advanced users are more common. For this reason, Kali and Parrot are usually set up and used as virtual machines with VirtualBox or VMWare Player. A very practical approach, especially when it comes to looking at the distribution first before installing it natively on the computer.
In my opinion, the so-called distribution hopping that some people do under Linux is more of a hindrance to getting used to a system in order to be able to work with it efficiently. Which Linux you choose depends primarily on your own taste and the requirements of what you want to do with it. Developers and system administrators will likely have an inclination toward Debian, a version from which many other distributions were derived. Windows switchers often enjoy Linux Mint, and the list goes on.
If you want to feel like a hacker, you can opt for a Kali installation. Things like privacy and anonymous surfing on the Internet are often the actual motives. I had already introduced Kodachi Linux, which specializes in anonymous surfing on the Internet. Of course, it must be made very clear that there is no real anonymous communication on the Internet. However, you can massively reduce the number of possible eavesdroppers with a few easy-to-implement measures. I have addressed the topic of privacy in several articles on this blog. Even if it is an unpopular opinion for many. But a Linux VM that is used for anonymous surfing via an Apple or Windows operating system completely misses its usefulness.
he first point in the “privacy” section is the internet browser. No matter which one you use and how much the different manufacturers emphasize privacy protection, the reality is like the fairy tale “The Emperor’s New Clothes”. Most users know the Tor / Onion network by name. Behind it is the Tor browser, which you can easily download from the Tor Project website [3]. After downloading and unzipping the directory, the Tor Browser can be opened using the start script on the console.
./Browser/start-tor-browser
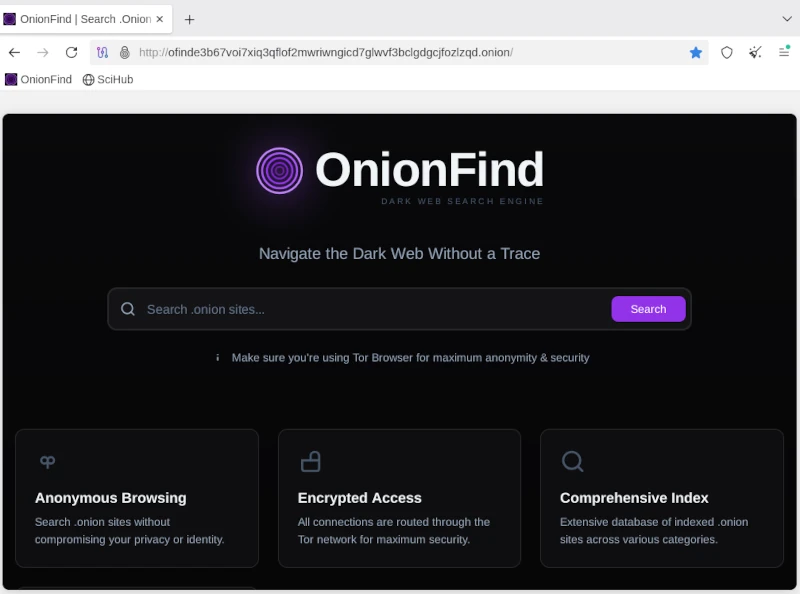
Anyone using the Tor network can visit URLs ending in .onion. A large number of these sites are known as the so-called dark web and should be surfed with great caution. You can come across very disturbing and illegal content here, but you can also fall victim to phishing attacks and the like. Without going into too much detail about exactly how the Tor network works, you should be aware that you are not completely anonymous here either. Even if the big tech companies are largely ignored, authorities certainly have resources and options, especially when it comes to illegal actions. There are enough examples of this in the relevant press.
If you now think about how the Internet works in broad terms, you will find the next important point: proxy servers. Proxy servers are so-called representatives that, similar to the Tor network, do not send requests to the Internet directly to the homepage, but rather via a third-party server that forwards this request and then returns the answer. For example, if you access the Google website via a proxy, Google will only see the IP address of the proxy server. Even your own provider only sees that you have sent a request to a specific server. The provider does not see in its own log files that this server then makes a request to Google. Only the proxy server appears on both sides, at the provider and on the target website. As a rule, proxy server operators ensure that they do not store any logs with the original IP of their clients. Unfortunately, there is no guarantee for these statements. In order to further reduce the probability of being detected, you can connect several proxy connections in series. With the console program proxychain, this project can be easily implemented. ProxyChain is quickly installed on Debian distributions using the APT package manager.
sudo apt-get install proxychains4
Using it is just as easy. The behavior for proxychain is specified via the configuration file /etc/proxychain.conf. If you change the working mode from stricht_chain to random_chain, a different variation of each proxy server will be randomly assembled for each connection. At the end of the configuration file you can enter the individual proxy servers. Some examples are included in the file. To use proxychain, you simply call it via the console, followed by the application (the browser), which establishes the connection to the Internet via the proxies.
Proxychanin firefox
## RFC6890 Loopback address range
## if you enable this, you have to make sure remote_dns_subnet is not 127
## you'll need to enable it if you want to use an application that
## connects to localhost.
# localnet 127.0.0.0/255.0.0.0
# localnet ::1/128The real challenge is finding suitable proxy servers. To get started, you can find a large selection of free proxies worldwide at [4].
Using proxies alone for connections to the Internet only offers limited anonymity. In order for two computers to communicate, an IP address is required that can be linked via the Internet access provider to the correct geographical address where the computer is located. However, additional information is sent to the network via the network card. The so-called MAC address, with which you can directly identify a computer. Since you don’t have to install a new network card every time you restart your computer to get a different MAC address, you can use a small, simple tool called macchanger. Like proxychain, this can also be easily installed via APT. After installation you can set the autostart and you have to decide whether you want to always use the same MAC address or a randomly generated MAC address each time.
Of course, the measures presented so far are only of any use if the connection to the Internet is encrypted. This happens via the so-called Secure Socket Layer (SSL). If you do not connect to the Internet via a VPN and the websites you access only use http instead of https, you can use any packet sniffer (e.g. the Wireshark program) to record the communication and read the content of the communication in plain text. In this way, passwords or confidential messages are spied on on public networks (WiFi). We can safely assume that Internet providers run all of their customers’ communications through so-called packet filters in order to detect suspicious actions. With https connections, these filters cannot look into the packets.
Now you could come up with the idea of illegally connecting to a foreign network using all the measures described so far. After all, no one knows that you are there and all activities on the Internet are assigned to the connection owner. For this reason, I would like to expressly point out that in pretty much all countries such actions are punishable by law and if you are caught doing so, you can quickly end up in prison. If you would like to find out more about the topic of WiFi security in order to protect your own network from illegal access, you will find a detailed workshop on Aircrack-ng in the members’ area (subscription).
The next item on the privacy list is email. For most people, running their own email server is simply not possible. The effort is enormous and not entirely cost-effective. That’s why offers from Google, Microsoft and Co. to provide an email service are gladly accepted. Anyone who does not use this service via a local client and does not cryptographically encrypt the emails sent can be sure that the email provider will scan and read the emails. Without exception! Since configuring a mail client with functioning encryption is more of a geek topic, just like running your own mail server, the options here are very limited. The only solution is the Swiss provider Proton [5], which also provides free email accounts. Proton promotes the protection of its customers’ privacy and implements this through strict encryption. Everyone has to decide for themselves whether they should still send confidential messages via email. Of course, this also applies to the available messengers, which are now used a lot for telephony.
Many people have googled themselves to find out what digital traces they have left behind on the Internet. Of course, this is only scratching the surface, as HR people at larger companies and corporations use more effective ways. Matego is a very professional tool, but there is also a powerful tool in the open source area that can reveal a lot of things. There is also a corresponding workshop for subscribers on this subject. Because if you find your traces, you can also start to cover them up.
As you can see, the topic of privacy and anonymity is very extensive and is only covered superficially in this short article. Nevertheless, the depth of information is sufficient to get a first impression of the matter. It’s not nearly enough to set up a system like Kali if you don’t know the basics to use the tools correctly. Because if you don’t put the different pieces of the puzzle together accurately, the hoped-for effect of providing more privacy on the Internet through anonymity will remain. This article also explains my personal point of view on a technical level as to why there is no such thing as secure, anonymous electronic communication. Anyone who wants to familiarize themselves with the topic will achieve success more quickly with a sensible strategy and their own system, which is gradually expanded, than with a ready-made all-round tool like Kali Linux.
Resources
Abonnement / Subscription
[English] This content is only available to subscribers.
[Deutsch] Diese Inhalte sind nur für Abonnenten verfügbar.